
Picture this: your car makes a weird clunking noise on the way to work, and the mechanic quotes you $800. Or your tooth starts throbbing on a Saturday night, and the emergency dentist wants $300 before they will even look at you. Life loves to surprise you — and if you don’t have savings set aside, those surprises go straight onto a credit card, where they quietly grow into a bigger problem.
An emergency fund is simply a stash of cash you keep for real surprises: car repairs, medical bills, a broken phone you need for work, or a sudden job loss. It is not vacation money, and it is not “I’ll pay it back later” money. It is your financial safety net, and it is the single most important thing you can do with your money when you are starting out.
If you are on a tight budget, saving feels impossible. But you don’t need to save thousands overnight. You can start with $10 or $20 a month and build from there. This guide walks you through exactly how to do it.

Why You Need an Emergency Fund (Even Before Paying Off Debt)
Most financial advice says to get out of debt first. But here is the problem: if you have no savings and you throw every extra dollar at debt, the next emergency forces you right back into borrowing. Around one in three Americans say they would need to borrow money or sell something to cover a $400 surprise — that number tells you how common this cycle is.
An emergency fund breaks that cycle. With even a small cushion, a flat tire is annoying instead of catastrophic.
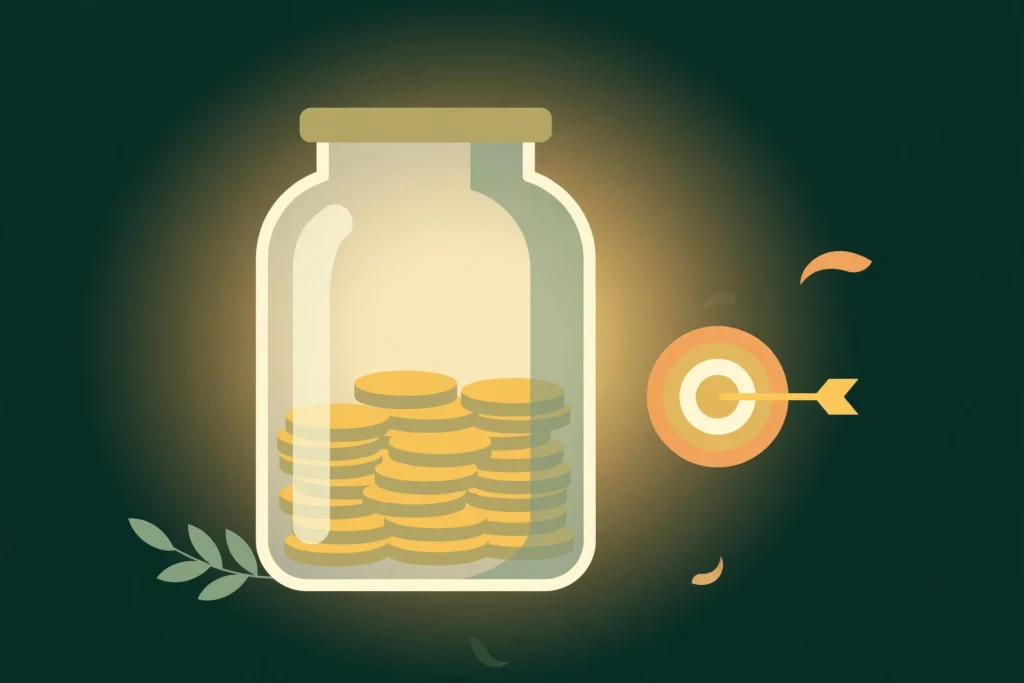
A $1,000 starter fund is the goal
Your first milestone is $1,000. That is not a magic number — it is roughly enough to cover most common surprises (a car repair, a phone replacement, an urgent dental visit) without going into debt. You can aim for 3 to 6 months of expenses later. Right now, just focus on getting to four figures.
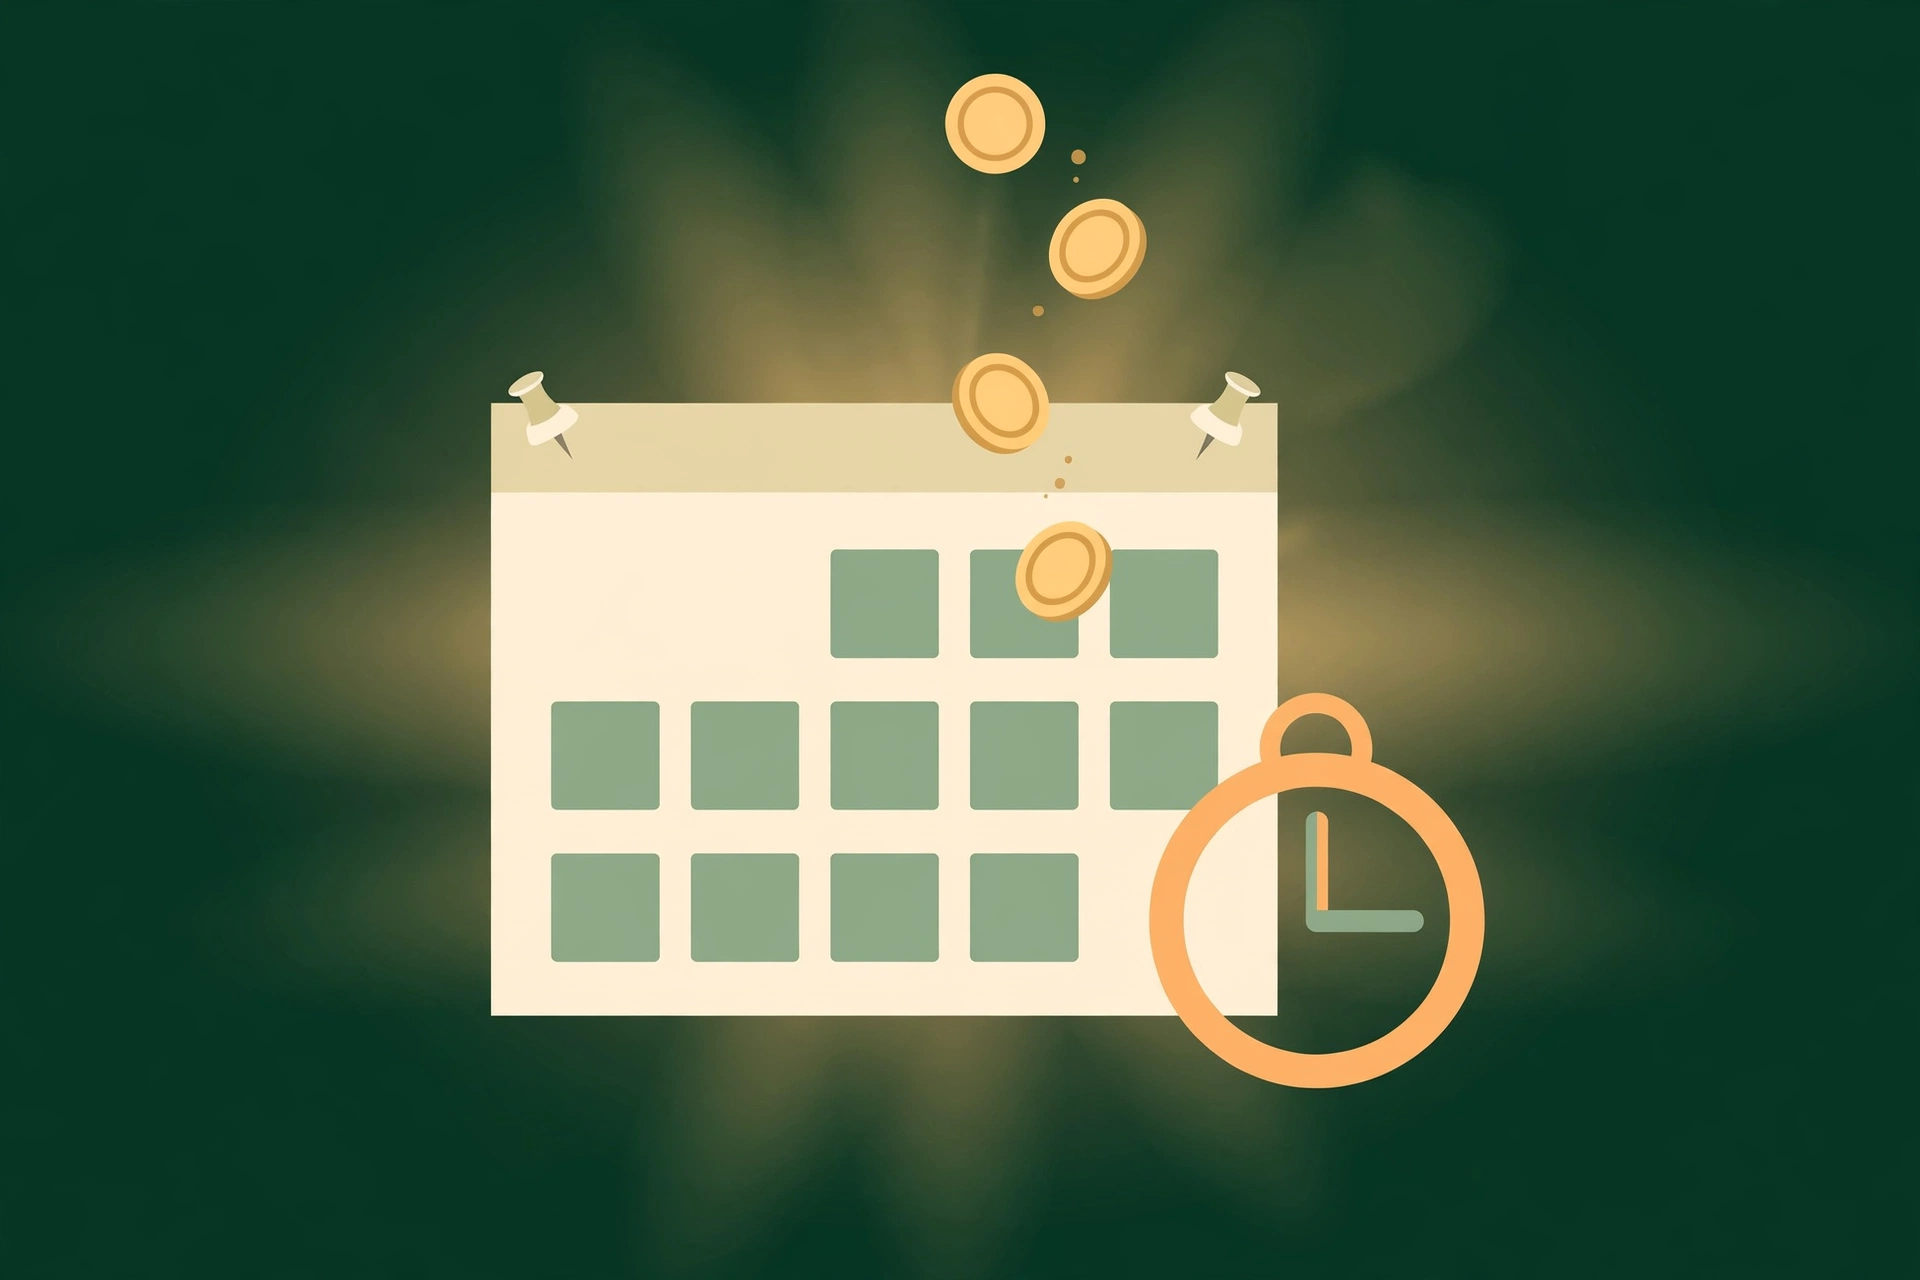
Step 1: Pick Your Number and Your Pace
Start by deciding how much you will save each week or month. Be honest about what you can afford — the best savings plan is the one you can actually stick to.
- $10 per week — about $40 a month, $520 a year. Reaches $1,000 in roughly 25 months.
- $25 per week — about $100 a month, $1,300 a year. Reaches $1,000 in about 10 months.
- $50 per week — about $200 a month, $2,400 a year. Reaches $1,000 in about 5 months.
Even $10 a week matters. You would be surprised how much momentum a small, steady habit creates — and once you see the balance growing, you naturally start finding ways to add more.
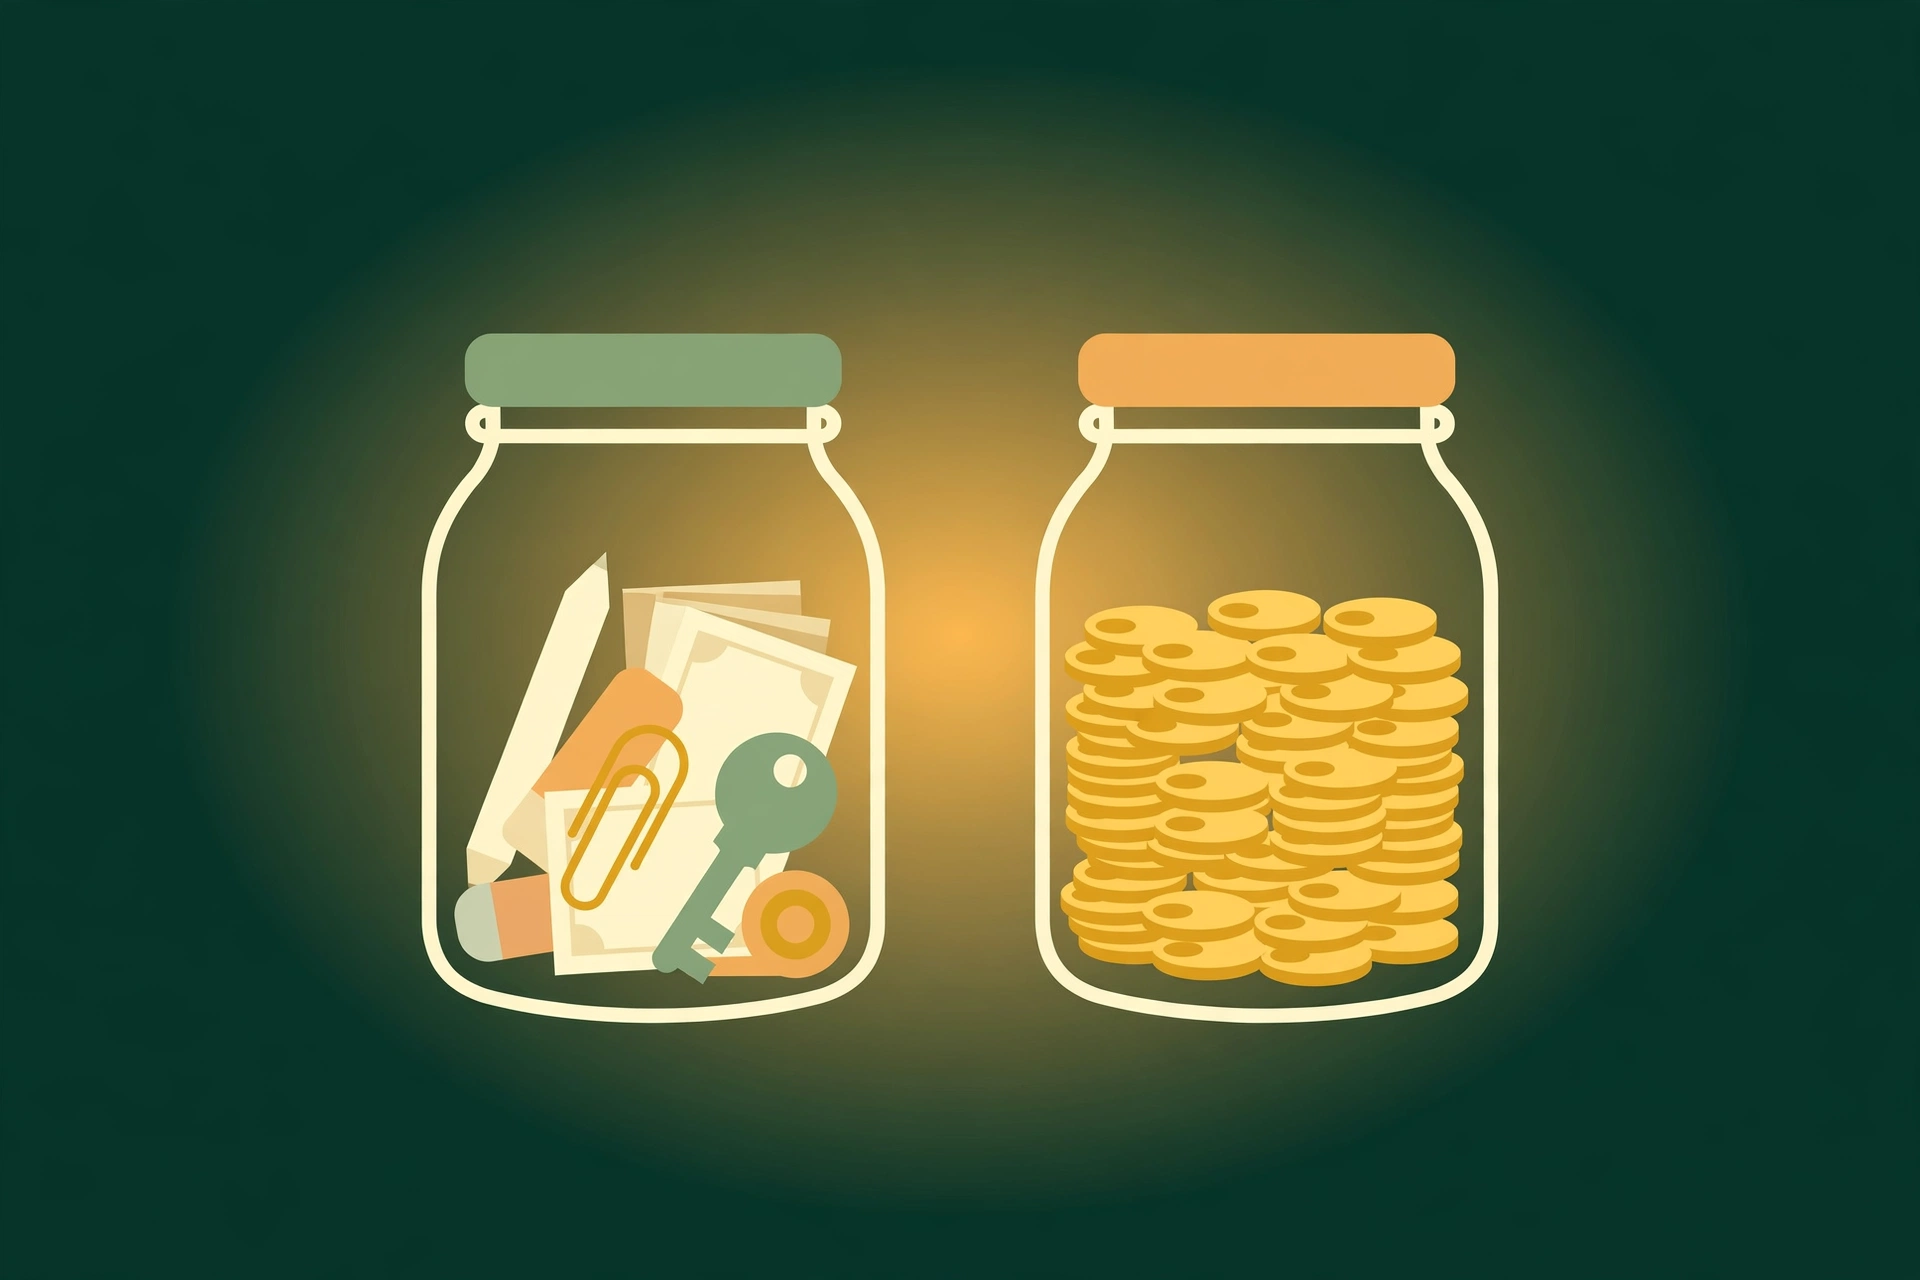
Step 2: Open a Separate Savings Account
Your emergency fund needs its own home — somewhere separate from your checking account so you are not tempted to dip into it for everyday spending.

Why a high-yield savings account works best
A high-yield savings account (often called an HYSA) is just a regular savings account that pays much more interest than a typical bank account. While big banks often pay close to 0%, online banks commonly pay around 4% or more. On a $1,000 balance, that is roughly $40 a year instead of $1 — free money for money you are saving anyway.
Good places to open one include well-known online banks like Ally, Marcus, or Discover. You can open an account in about ten minutes, and there are no fees.

Name your account something motivational
Most banks let you nickname your savings account. Call it “Emergency Fund” or “Safety Net” — not “Savings” or “Extra.” That small psychological trick makes you think twice before touching it.
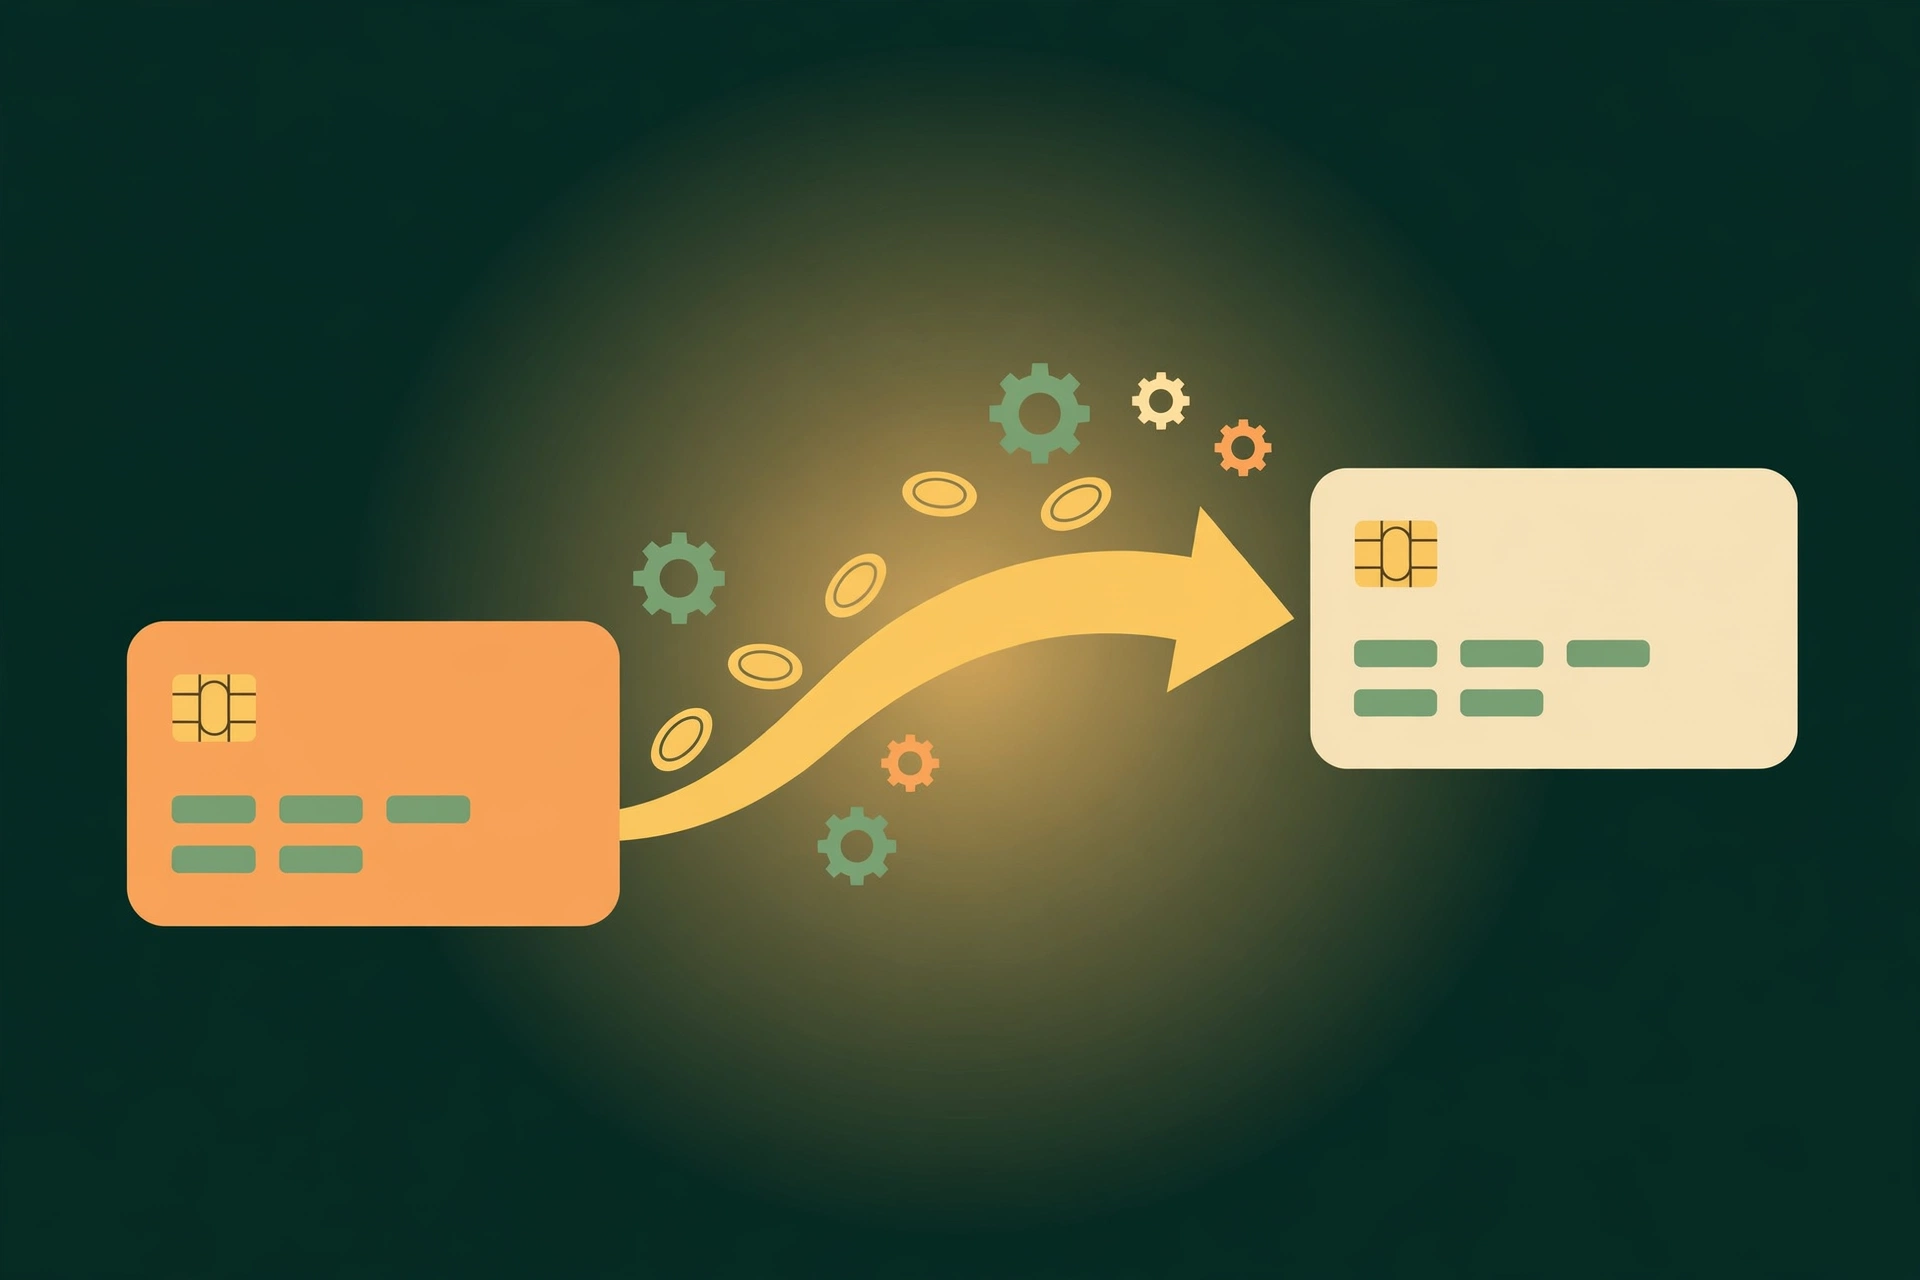
Step 3: Automate It So You Never Have to Think About It
The hardest part of saving is remembering to do it. So remove yourself from the process.
Set up an automatic transfer from your checking account to your emergency fund on payday — even if it is only $25. Most banks let you schedule this in under two minutes. The money moves before you have a chance to spend it, and you barely notice it is gone.
- Paid biweekly? Set a $25 transfer every other Friday. That is $650 a year without thinking about it.
- Paid weekly? Even $15 per paycheck adds up to $780 a year.
- Irregular income? Transfer a percentage instead — say 5% of every paycheck, no matter the size.
If payday is tomorrow and you haven’t set this up yet, do it today. This single step does more for your savings than any budgeting app ever will.

Step 4: Find Your First $100 Fast
Automation is the long game, but an early win keeps you motivated. Try to scrape together your first $100 within two weeks:
- Sell one thing you don’t use. A jacket, a game console, an old phone — most people can find $50 to $100 of stuff sitting in a closet. List it on Facebook Marketplace and it can be cash in hand by the weekend.
- Skip one subscription for a month. Pause one $15 streaming service for two months. That is $30 toward your fund.
- Do a “no-spend week.” For seven days, spend money only on true necessities: groceries, gas, bills. Most people save $50 to $100 just by doing this once.
- Round up your change. Many banking apps offer a round-up feature that saves the spare change from every purchase. Buy a $3.60 coffee and $0.40 goes to savings. It is slow, but it adds $10 to $30 a month on autopilot.
Step 5: Protect Your Fund Like It Matters
An emergency fund only works if you actually leave it alone. That means being strict about what counts as an emergency.
Real emergencies
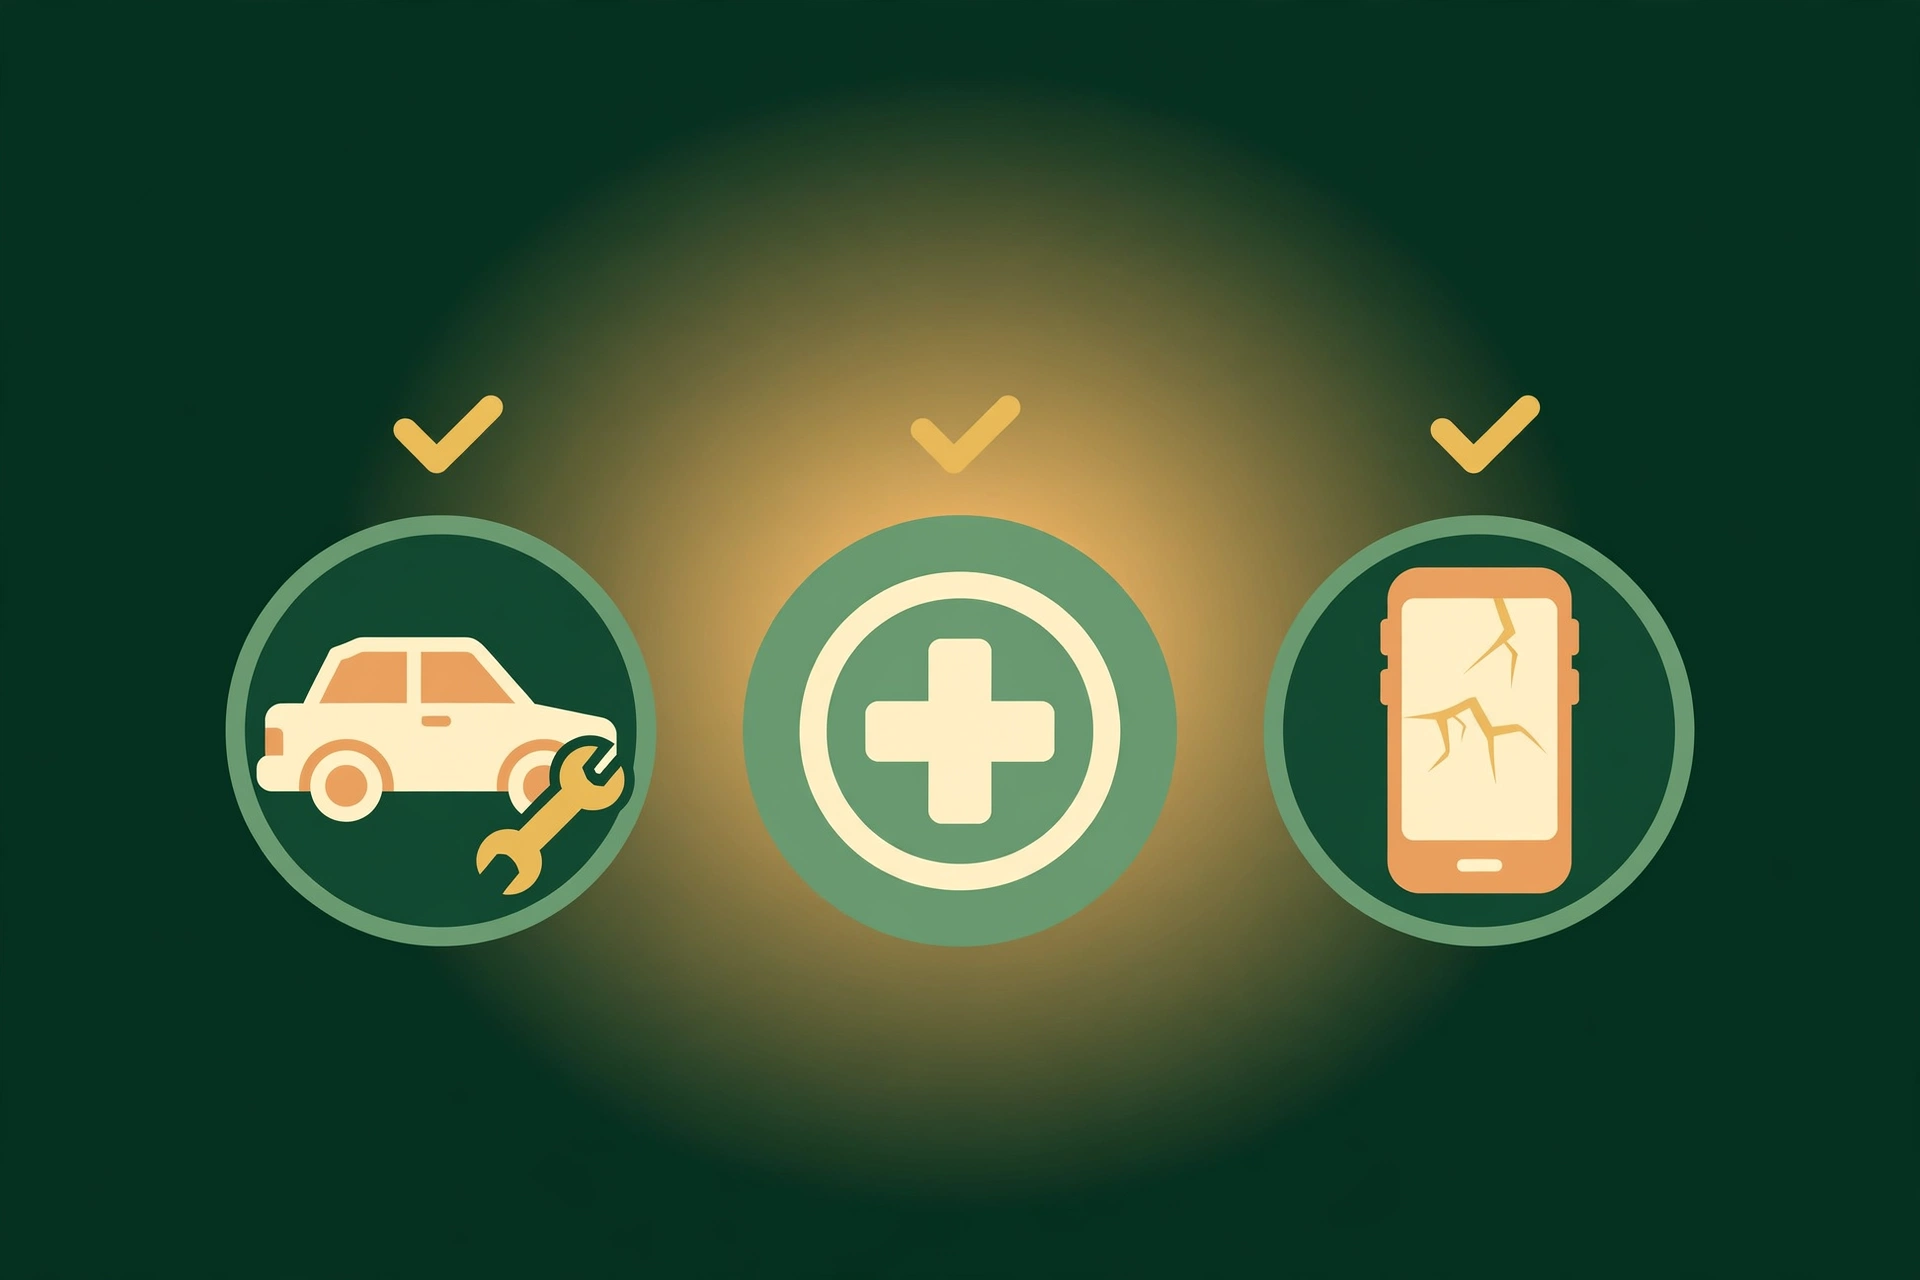
- Car repair you need to get to work
- Emergency medical or dental bill
- Broken appliance you cannot live without (fridge, furnace)
- Job loss or sudden drop in income
- Emergency travel (a family crisis across the country)
Not emergencies
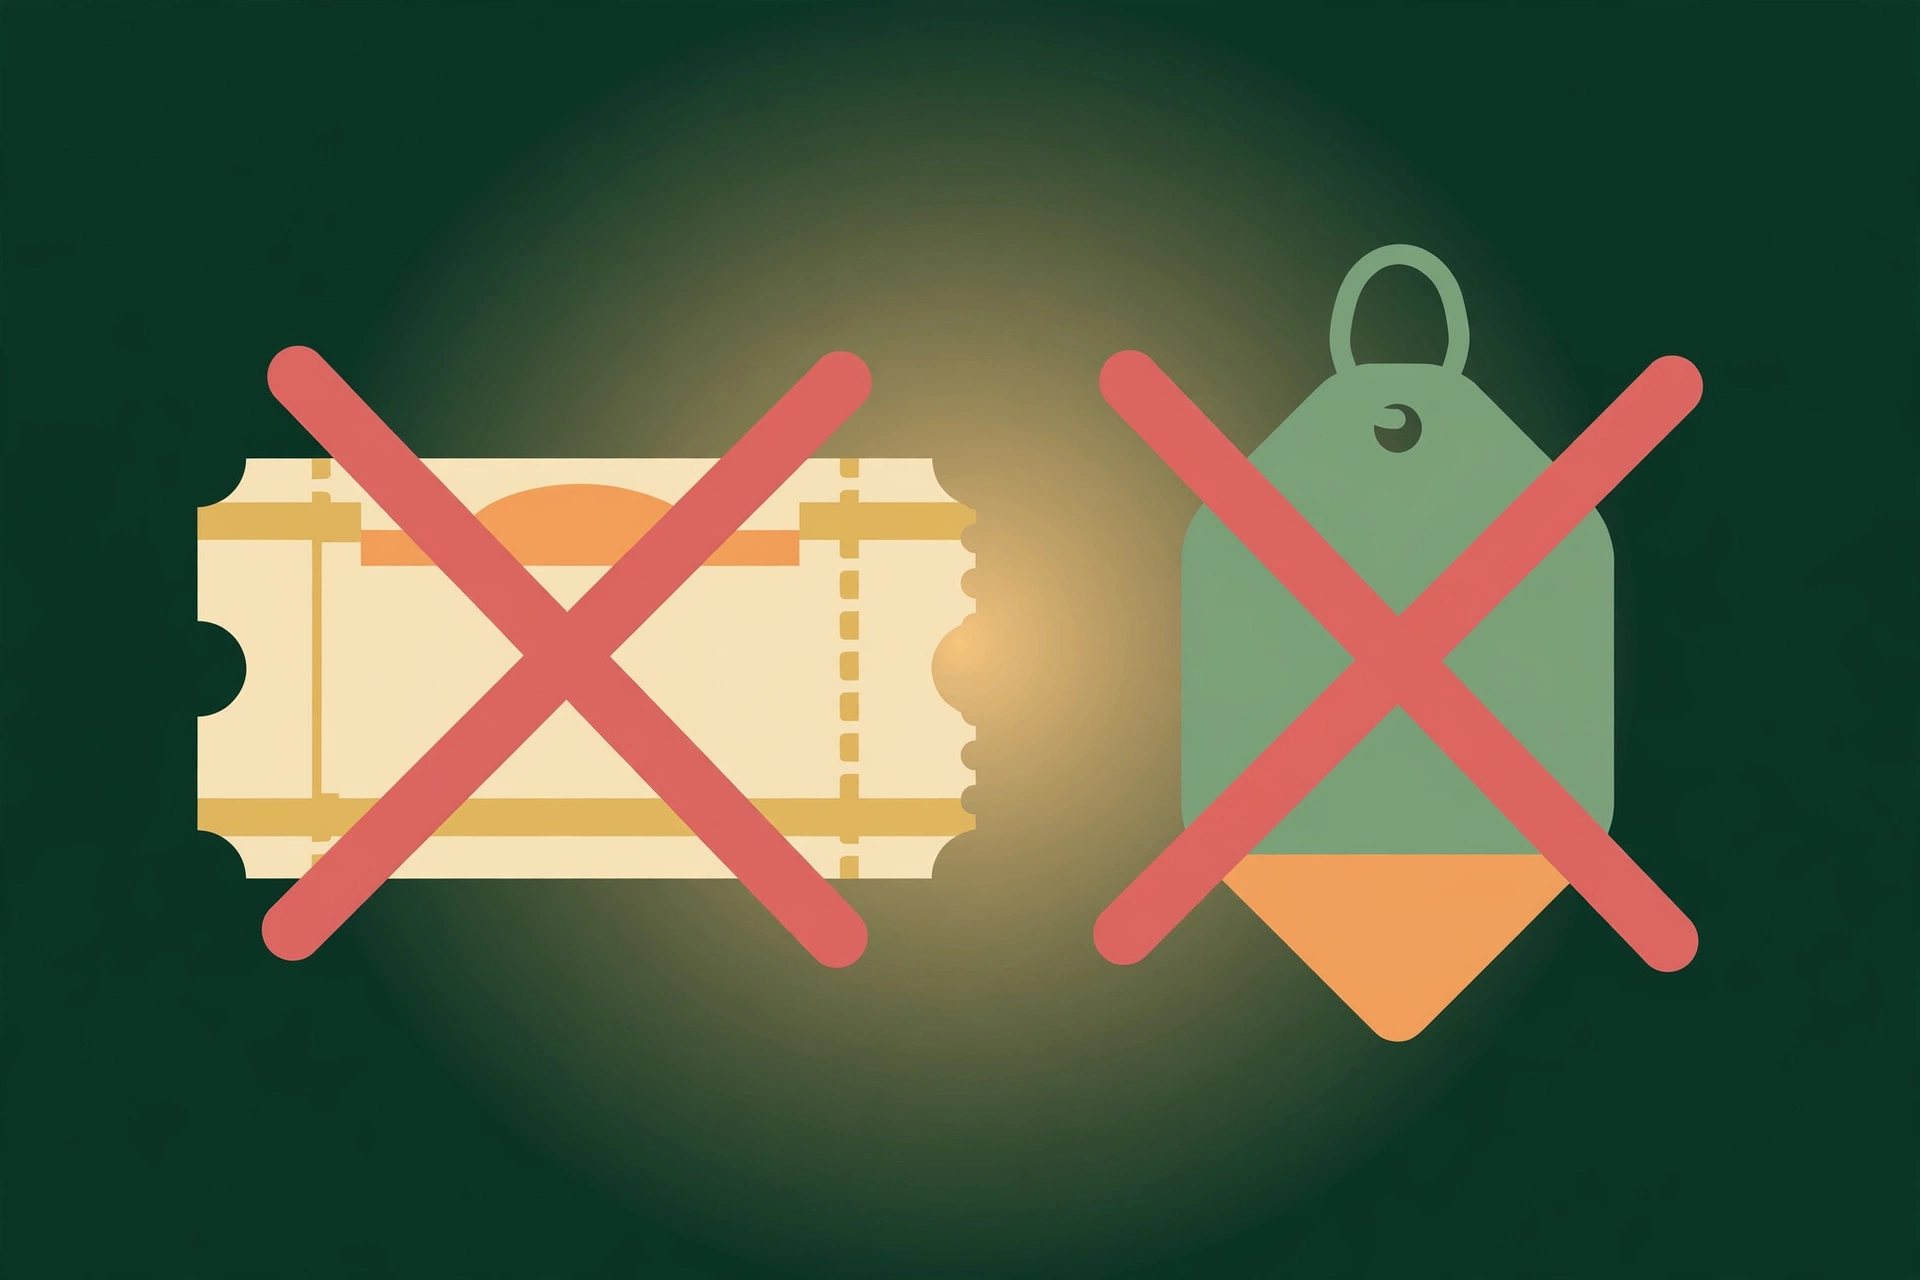
- Concert tickets or a weekend trip
- A sale you don’t want to miss
- A new phone because yours is “kind of slow”
- Gifts (plan for these separately)
- “I had a rough week” spending
A good rule: if waiting 48 hours doesn’t make it worse, it is probably not an emergency. Give yourself two days before touching the fund — most “emergencies” evaporate on their own.
Step 6: Rebuild After You Use It
Here is the part nobody talks about: you WILL use this fund. That is the whole point. When the car breaks down and you pay the $800 mechanic bill from savings instead of a credit card, that is a win — not a failure.
The important thing is to rebuild it right away. Pause other non-essential saving, redirect that money back into the emergency fund, and get it back to $1,000 before doing anything else with your money. Treat rebuilding like paying off a debt: it is the priority until it is done.
When to Grow Beyond $1,000
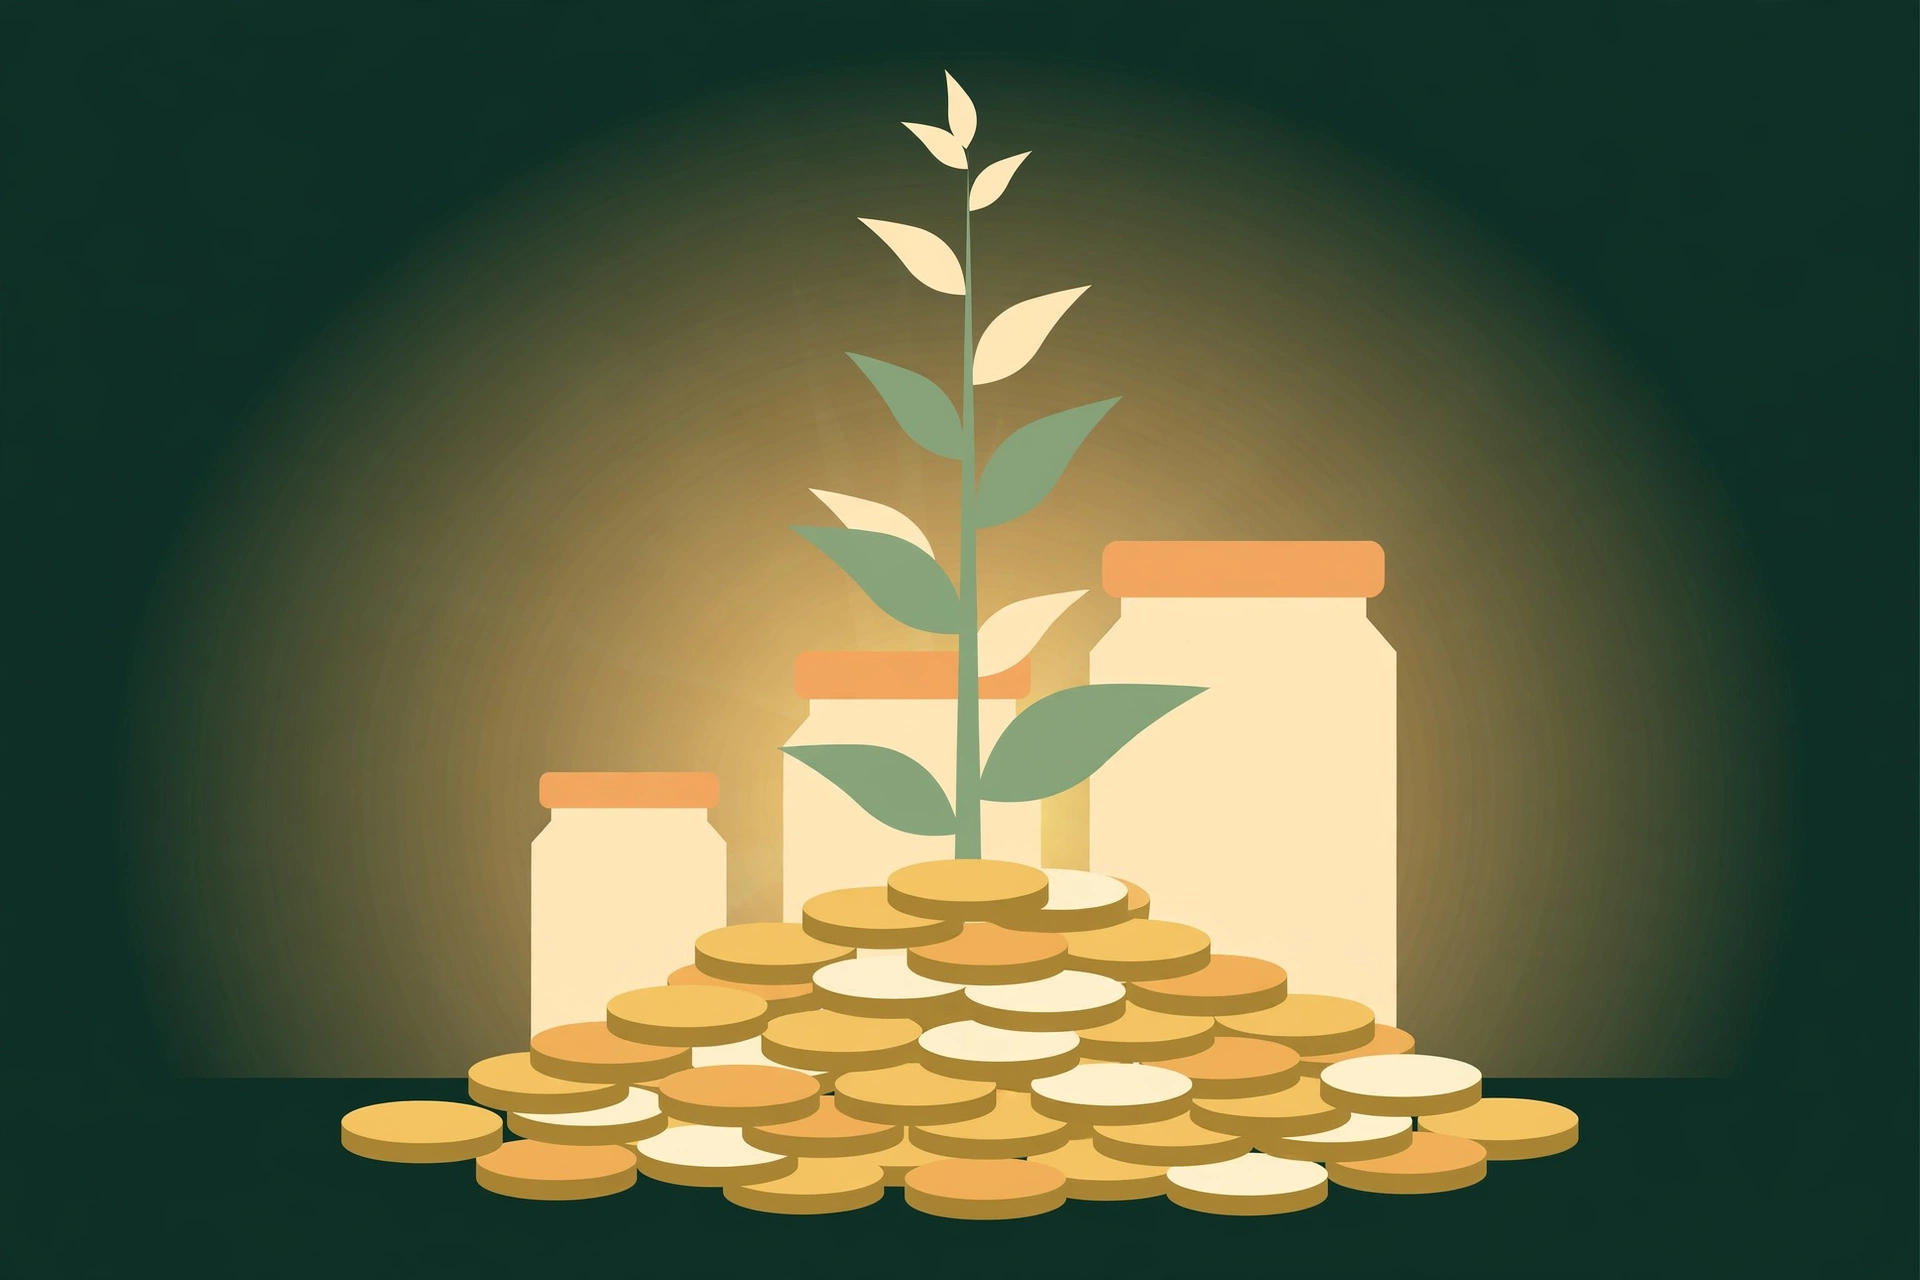
Once you have your $1,000 cushion and any high-interest debt under control, start building toward a bigger fund — enough to cover 3 to 6 months of essential expenses. If your rent, utilities, groceries, and minimum bills total $2,200 a month, a 3-month fund is $6,600.
That sounds like a lot, but remember: you already proved you can save. Keep the automatic transfer running, bump it up when you get a raise, and you will get there. For most beginners saving $200 a month, a 3-month fund takes roughly 2 to 3 years. Slow is fine — slow still works.
The Bottom Line
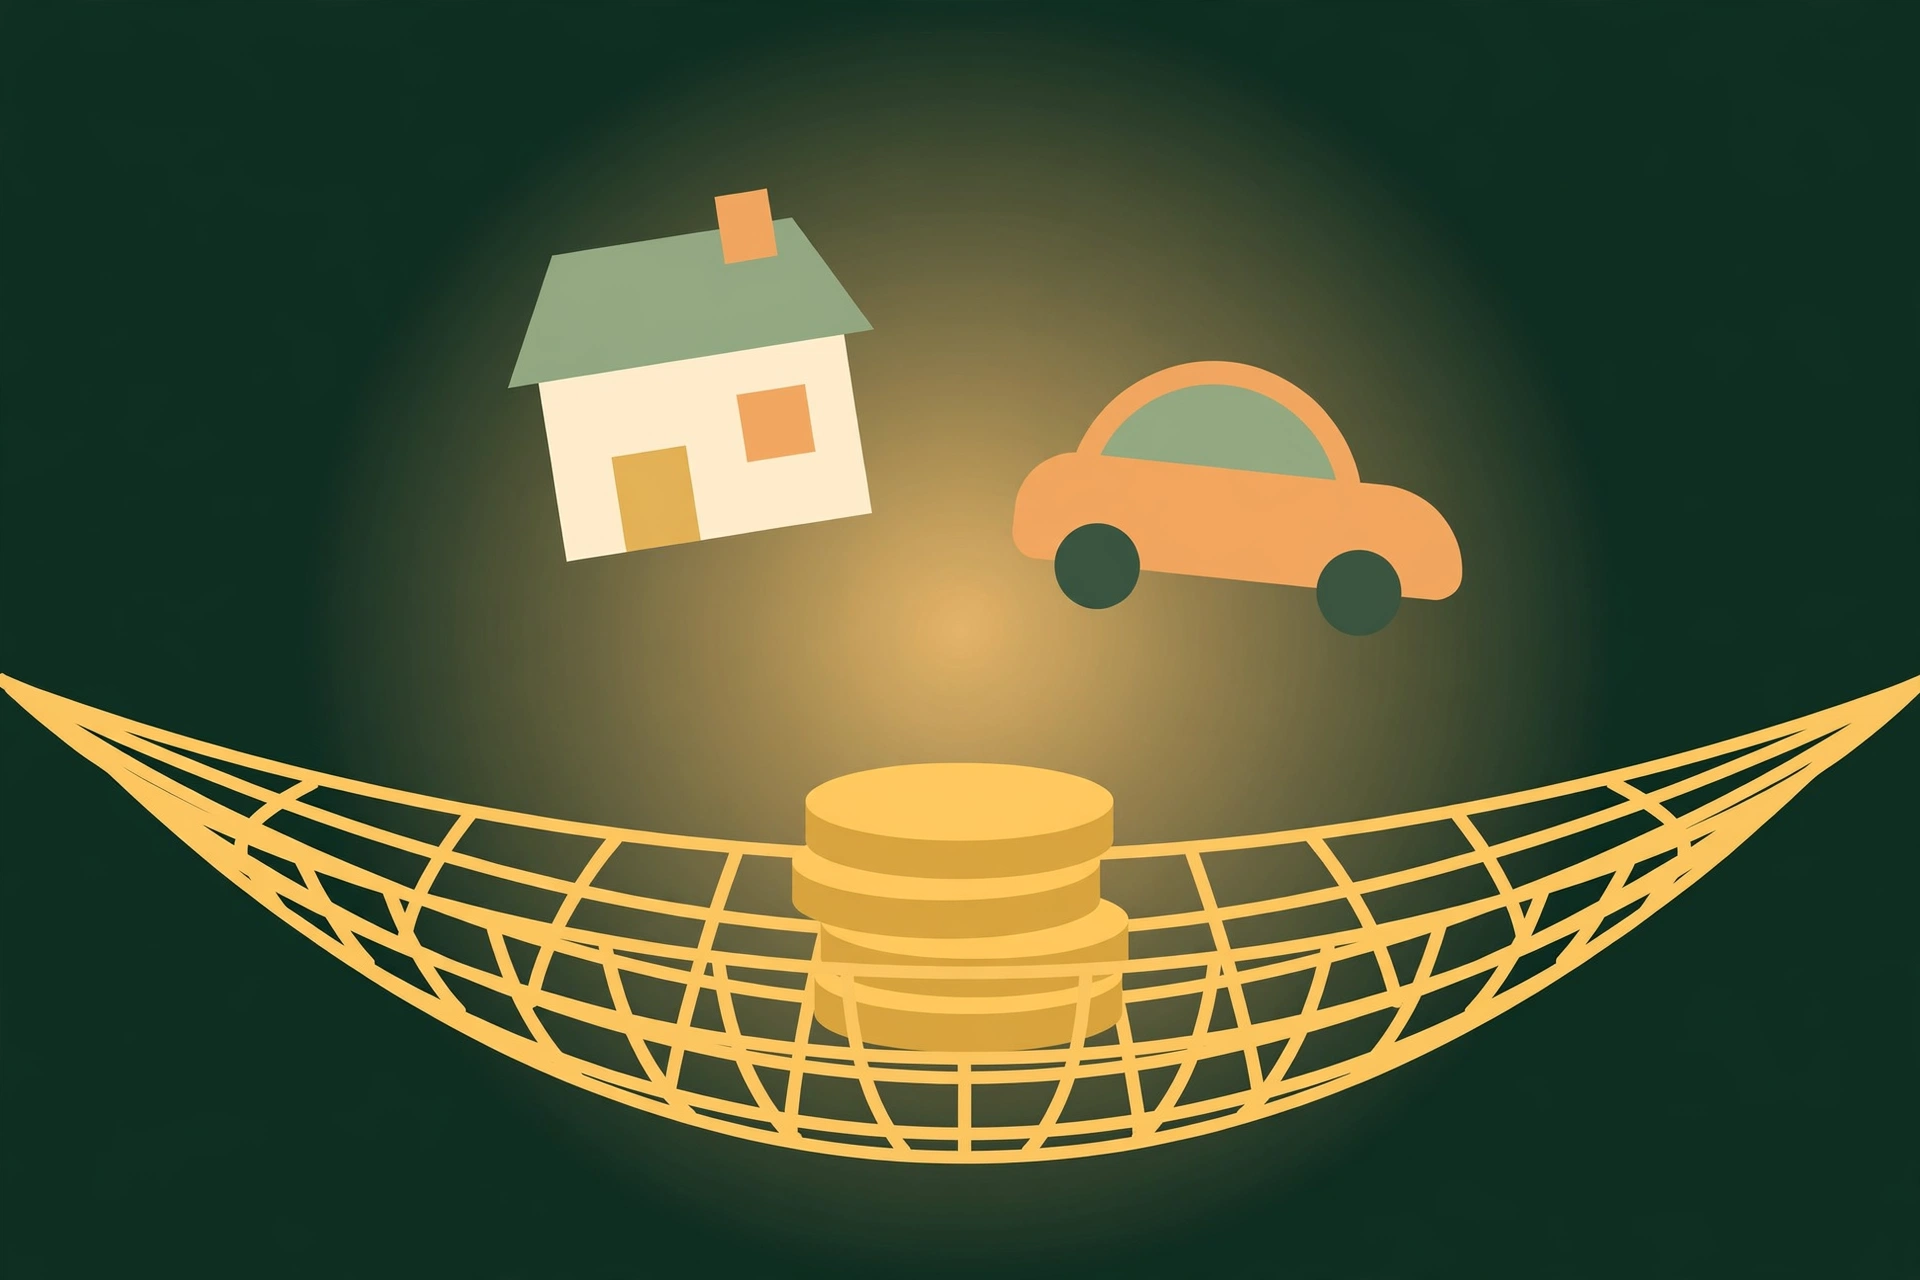
You don’t need a big income to build an emergency fund — you need a separate account, an automatic transfer, and the discipline to leave the money alone. Start with whatever you can afford, even $10 a week, and aim for that first $1,000. Your next surprise won’t be fun, but at least it won’t turn into debt. Open that separate savings account today and set up your first automatic transfer — future you will be glad you did.
Pingback: Savings Challenges Ranked: Which Viral Challenge Actually Puts Money in Your Account?
Pingback: Revenge Saving: The Angry Savings Trend That Actually Works — If You Stop at the Right Number
Pingback: 38% of Americans Will Rely on Credit to Get Through This Month — How to Do It Without Digging a Hole - Luxiro
Pingback: The Payday Routine: What to Do in the First Hour After You Get Paid - Luxiro